I want to show you guys the course outline that I created for my WordPress Made Easy course, which is my second course on Udemy. In my previous post, I gave a quick look of my mind mapping process and some of the apps that I use. I use Mindmeister to create mind maps, and it allows me to brainstorm very quickly and get ideas out on a canvas to organize them as fast as possible. I’ve had to readjust some things as I created my outline, but that’s the beauty of a mind map because you can get it done really fast.
After doing that, I went to my slide application of choice, which is Keynote, to create my slide files.
In the past, what I used to do is create separate slide files for every single module, lesson, and video. It just became a little bit hard to manage. Files are getting saved, lost, and misplaced in different places. So, how do I manage this? What’s the first thing that you must do when creating slides for your online course?
Watch the video:
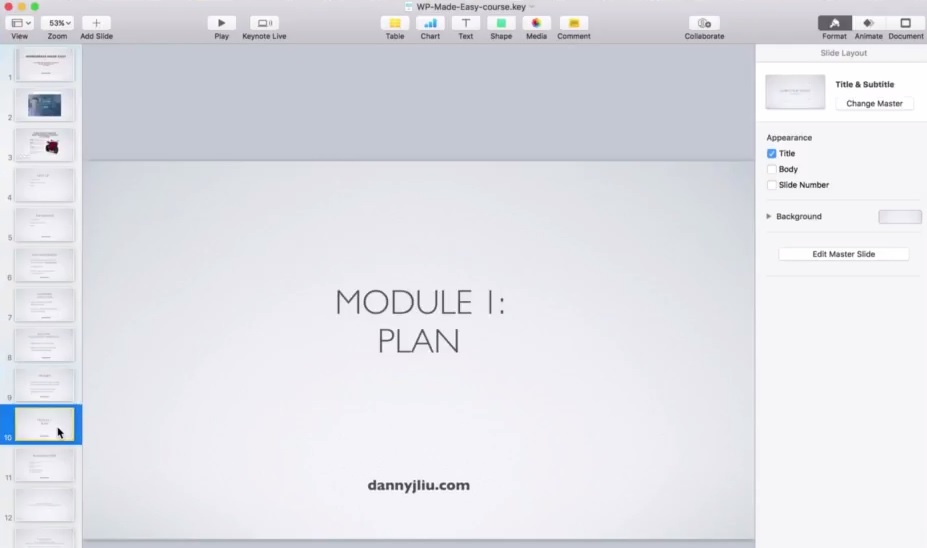
Keep a master file for the slides of your entire course
What I’ve decided to do is keep a master file where every slide for the entire course is listed. I then insert additional slides for breakpoints for where modules happen. In my master file, I’ve got my title, a little description of myself, and a high-level overview of the course. The course outline follows this pattern.
This pattern is basically, “Tell them what you’re going to tell them. Tell them what you told them you’re going to tell them, and then remind them of what you just told them.” It’s kind of like a content sandwich when you’re looking at it from a teaching perspective. You’re really trying to reinforce everything that you’re showing and teaching them. But, the most important thing if you’re doing online courses is that take action step. So, make sure that’s in there as well.
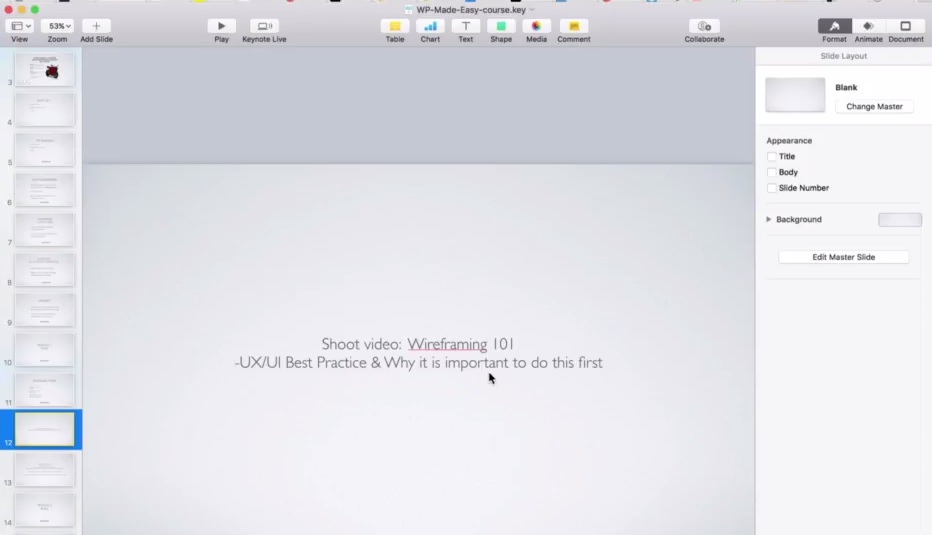
Insert breakpoints and reminders in your master file
Some of the things that have helped me in the outline process are having slides that serve as breakpoints. For example, I have a marker for where Module 1 starts.
I also have these little slides that serve as cue cards where I insert some notes for what I need to do in this part of the course, like shooting a video and high-level touch-points of what needs to be included in that video.
The last thing you want to do is just put together a huge list of everything that you want to cover because when you try to record a video and it doesn’t come out the way you want it to, you end up with a lot of back and forth of scrapping and reshooting videos and wasting time. Being able to talk at a high level is much more fluid.
There is such a thing as doing too much prep. Over-prepping and trying to be perfect can end up wasting your time. You can always come back and improve upon what you’ve got. Doing this has really helped me.
Add a step for Congratulations
After the course is over, reinforce the decision that your potential student has made to decide to go through the course. If they’ve actually gone through the whole course, you want to congratulate them, and you want to tell them that they should be congratulating themselves as well. Most people don’t finish courses. That’s just the truth.
On Udemy, they give you a lot of metrics that can show you exactly where your drop off rates are in your videos. This can help you a lot in improving your courses. You can see that most people don’t event start a course, much less finish it, so if they do, you definitely want to congratulate them.
Include what are the next steps after finishing your course
What are the next steps for your student? In my case, what are the next steps for someone who’s looking to build a website?
At the end of the course, the journey is not over. There’s a transformation that you get out of this. Your student can feel it, visualize it, and see it. So, what is there to do after finishing the course?
These are different depending on the course that you have. These can be bonus videos, affiliate options, or special offers that fit your students. For my course, since it’s about building a website, it can be hosting providers, paid themes, and things that can really add more value to the person who’s going to be taking action. Something to help them take their website to the next level.
In the future, maybe other courses on these other topics may spawn and those can be the next steps. I also have the option to offer the initial course for free and lead them to purchasing the next courses. They already know and trust me. They’ve already received substantial value from the initial course. So, as long as they’ve taken action, they will see the value and are more likely to get another course, maybe at a discounted price, especially if they’ve got the first one for free. These are just some of the potential things to include and think about when building online courses.
I hope this has helped you in planning and creating your course. I also have a Facebook group called Launch Your First Online Course. It’s a community for people who are trying to share and teach about things they’re passionate about and an expert at. A lot are in the same phase of trying to get their first course out there.
If you’re looking for a group of like-minded individuals, go ahead and give it a join. I look forward to seeing you there.
Leave a Reply